Configuring an IDE
We assume that you already cloned and compiled Godot.
Kdevelop
It is a free, open source IDE (Integrated Development Environment) for Linux, Solaris, FreeBSD, Mac OS X and other Unix flavors.
You can find a video tutorial here. Or you may follow this text version tutorial.
Start by opening Kdevelop and choosing “open project”.

Choose the directory where you cloned Godot.
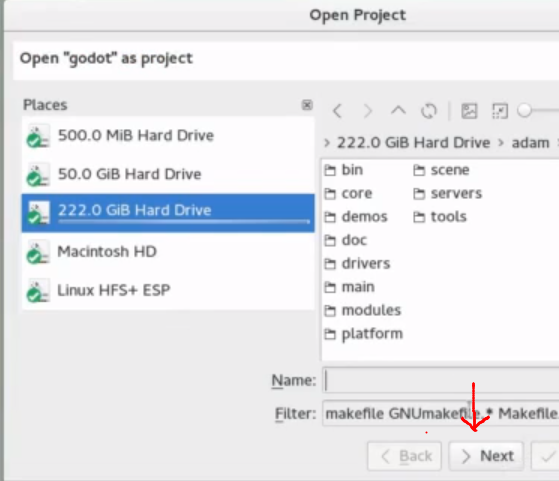
For the build system, choose “custom build system”.
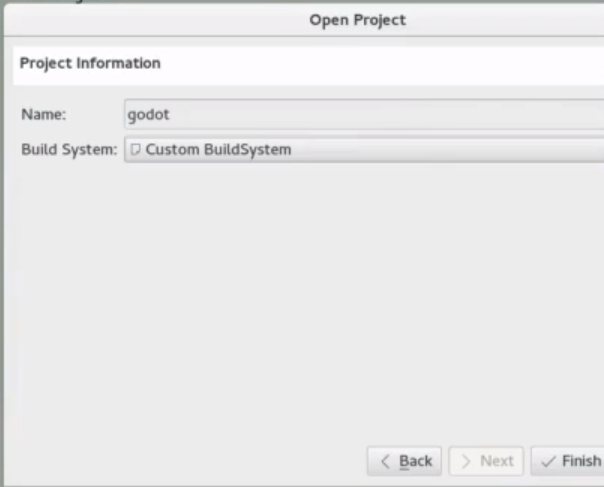
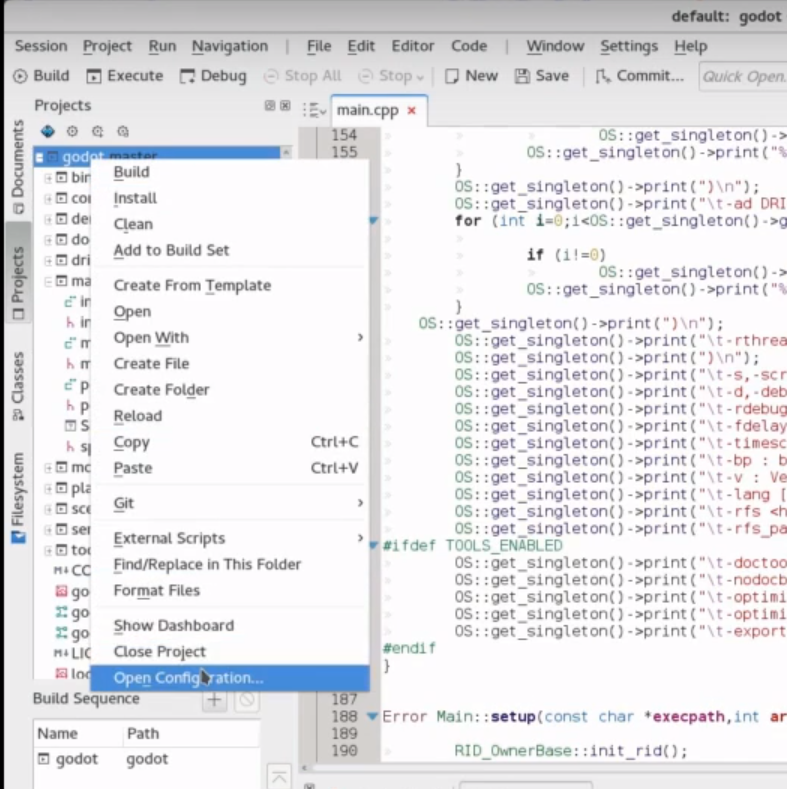
Now that the project has been imported, open the project configuration.
Add the following includes/imports:
.  // a dot to indicate the root of the Godot project
core/
core/os/
core/math/
tools/
drivers/
platform/x11/  // make that platform/osx/ is you're using OS X
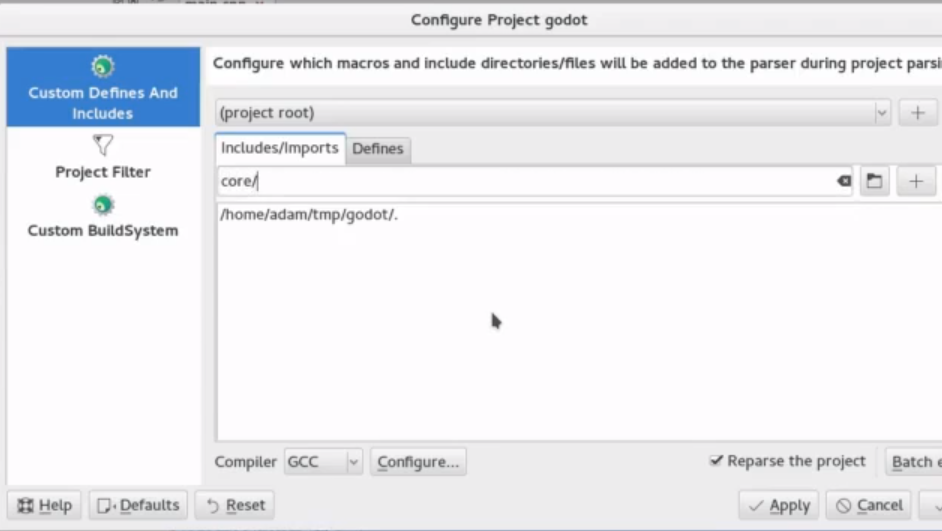
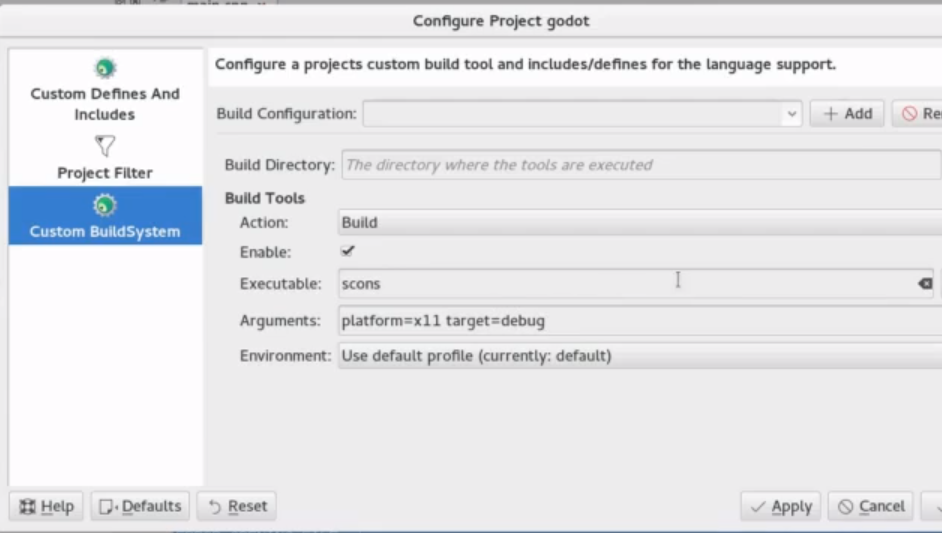
Apply the changes then switch to the “Custom Buildsystem” tab.
Leave the build directory blank. Enable build tools and add scons
as the executable and add platform=x11 target=debug (platform=osx
if you’re on OS X).
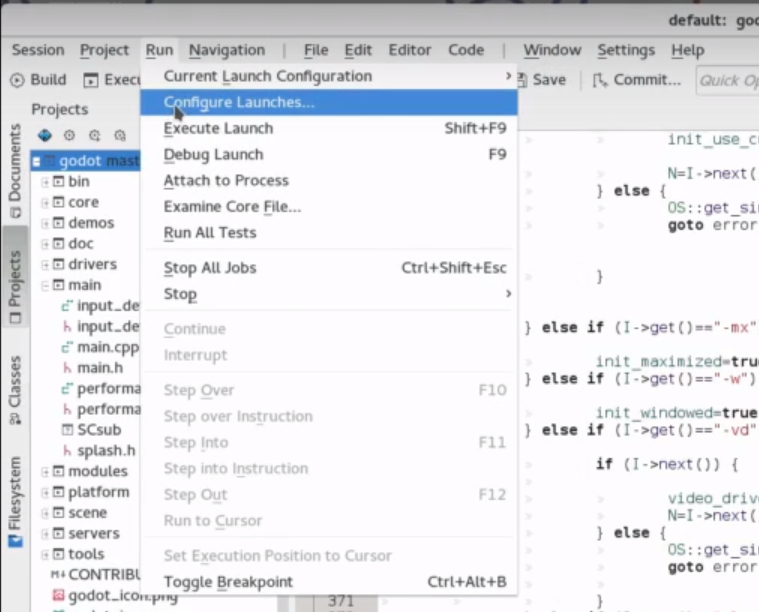
Next we need to tell KDevelop where to find the binary. From the “run” menu, choose “Configure Launches”.
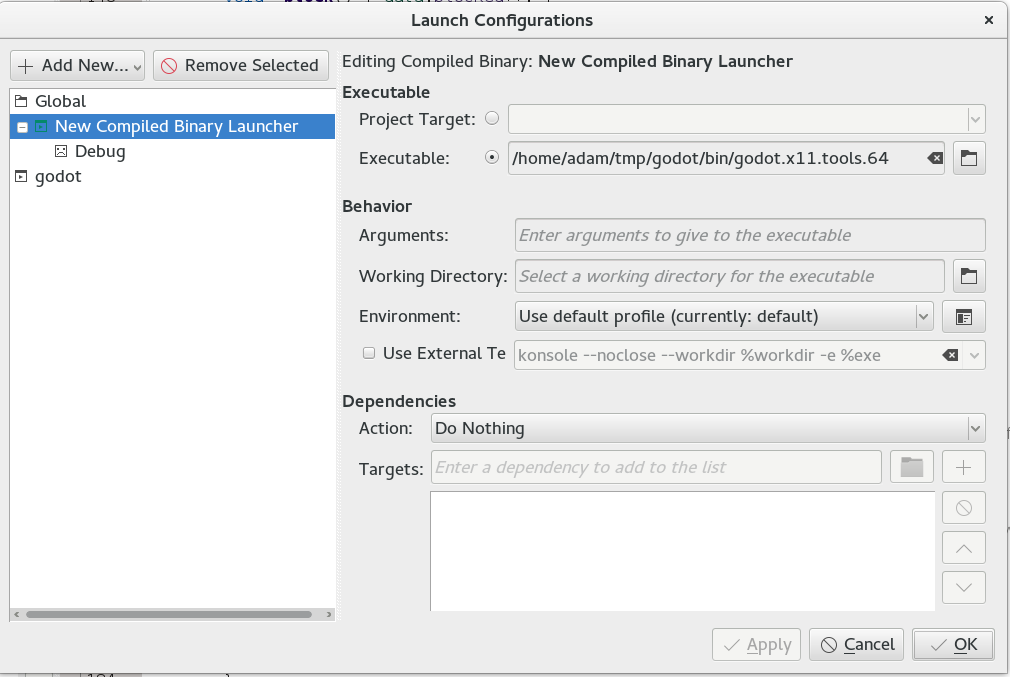
Click “Add new” if no launcher exists. Then add the path to your
executable in the executable section. Your executable should be located
in the bin/ sub-directory and should be named something like
godot.x11.tools.64 (the name could be different depending on your
platform and depending on your build options).
That’s it! Now you should be good to go :)
Eclipse
TODO.
QtCreator
Importing the project
- Choose New Project -> Import Project -> Import Existing Project.
- Set the path to your Godot root directory and enter the project name.
- Here you can choose which folders and files will be visible to the project. C/C++ files are added automatically. Potentially useful additions: *.py for buildsystem files, *.java for Android development, *.mm for OSX. Click “Next”.
- Click Finish.
- Add a line containing
.to project_name.includes to get working code completion.
Build and run
Build configuration:
- Click on Projects and open the Build tab.
- Delete the pre-defined
makebuild step. - Click Add Build Step -> Custom Process Step.
- Type
sconsin the Command field. - Fill the Arguments field with your compilation options. (e.g.:
p=x11 target=debug -j 4)
Run configuration:
- Open the Run tab.
- Point the Executable to your compiled Godot binary (e.g:
%{buildDir}\bin\godot.windows.tools.64.exe) - If you want to run a specific game or project, point Working directory to the game directory.
- If you want to run the editor, add
-eto the Command line arguments field.
Xcode
Project Setup
- Create an Xcode external build project anywhere
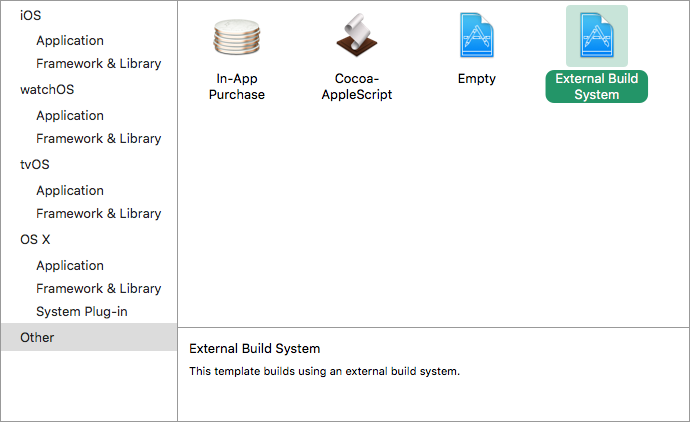
- Set the Build tool to the path to scons
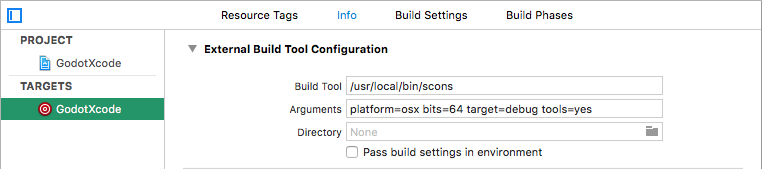
Modify Build Target’s Xcode Info Tab:
- Set Arguments to something like: platform=osx tools=yes bits=64 target=debug
- Set Directory to the path to Godot’s source folder. Keep it blank if project is already there.
- You may uncheck Pass build settings in environment
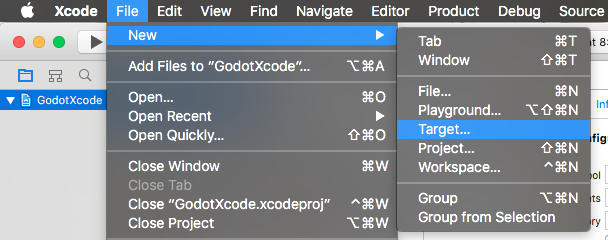
Add a Command Line Target:
- Go to Xcode File > New > Target… and add a new Xcode command line target
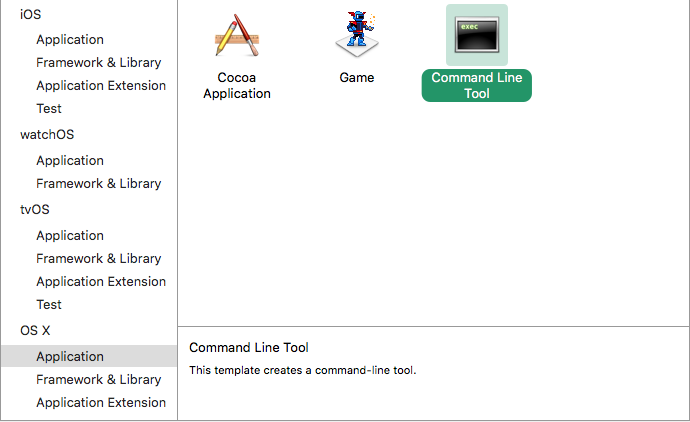
- Name it something so you know not to compile with this target
- e.g.
GodotXcodeIndex - Goto the newly created target’s Build Settings tab and search for Header Search Paths
- Set Header Search Paths to an absolute path to Godot’s source folder
- Make it recursive by adding two *’s to the end of the path
- e.g.
/Users/me/repos/godot-source/\**
Add Godot Source to the Project:
- Drag and drop godot source into project file browser.
- Uncheck Create External Build System

- Click Next
- Select create groups
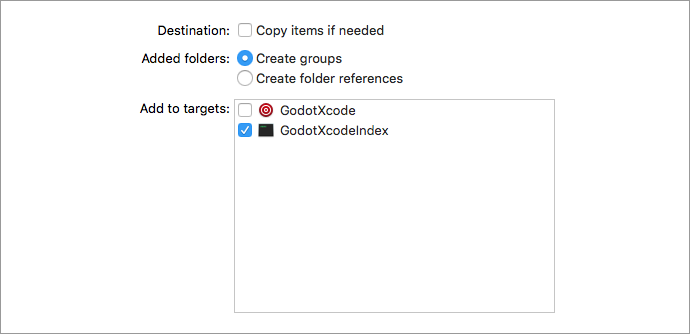
- Check off only your command line target in the Add to targets section
- Click finish. Xcode will now index the files.
- Grab a cup of coffee… Maybe make something to eat, too
- You should have jump to definition, auto completion, and full syntax highlighting when it is done.
Scheme Setup
Edit Build Scheme of External Build Target:
- Open scheme editor of external build target
- Expand the Build menu
- Goto Post Actions
- Add a new script run action, select your project in
Provide build settings fromas this allows you to use${PROJECT_DIR}variable.
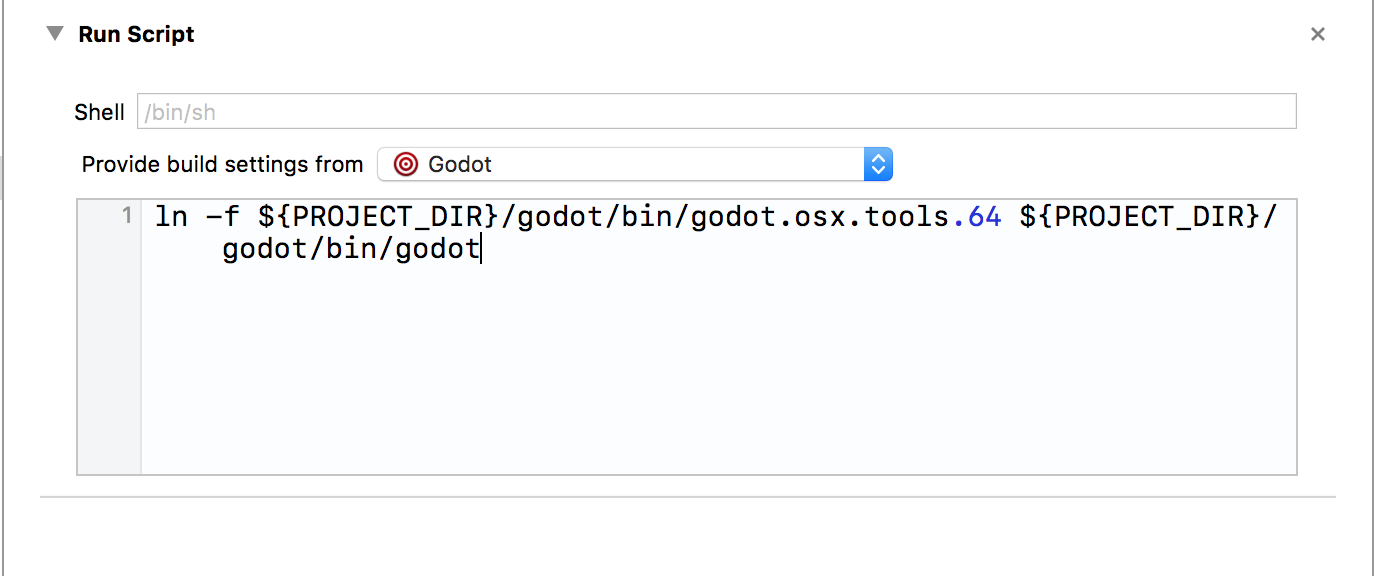
- Write a script that gives the binary a name that Xcode will recognize
- e.g.
ln -f ${PROJECT_DIR}/godot/bin/godot.osx.tools.64 ${PROJECT_DIR}/godot/bin/godot - Build the external build target
Edit Run Scheme of External Build Target:
- Open the scheme editor again
- Click Run
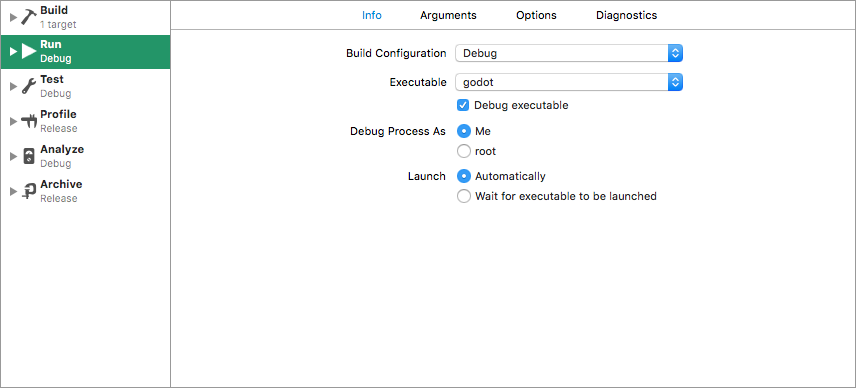
- Set the Executable to the file you linked in your post build action script
- Check Debug executable if it isn’t already
- You can go to Arguments tab and add an -e and a -path to a project to debug the editor not the project selection screen
Test it:
- Set a breakpoint in platform/osx/godot_main_osx.mm
- It should break at the point!
Other editors (vim, emacs, Atom…)
TODO.