Animations
Introduction
Godot’s animation system is extremely powerful and flexible.
To begin, let’s use the scene from the previous tutorial (Splash screen).
The goal is to add a “fade-in” animation to the splash image. Here’s a copy
just in case: robisplash.zip.
Add an animation player
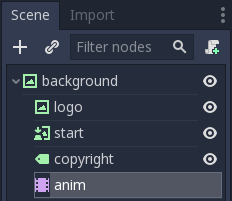
First of all, add an AnimationPlayer node to the scene as a child of “background” (the root node):
When a node of this type is selected, the animation editor panel will appear:
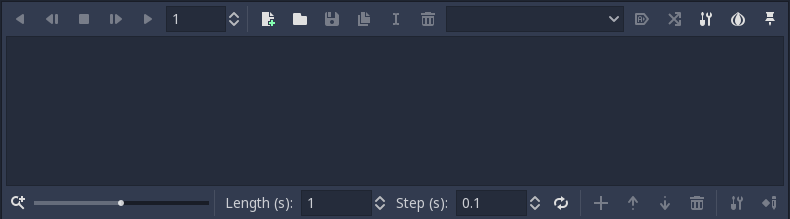
The animation editor panel stays visible until manually hidden.
Creating the animation
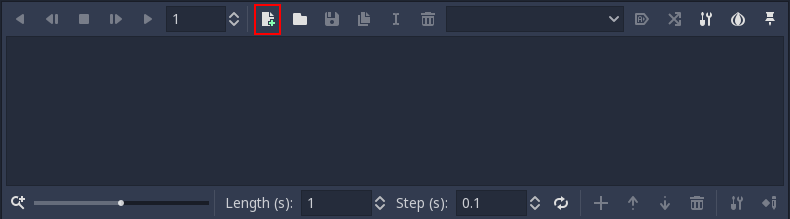
It’s time to create a new animation! Press the new animation button and name the animation “intro” when the dialog appears.
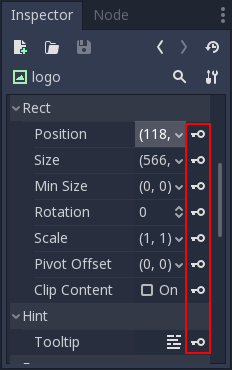
Now that we have an animation the property editor enters “animation editing” mode. In this mode, a key icon appears next to every property of the property editor. In Godot any property of an object can be animated:
Editing the animation
The logo will appear from the top of the screen.
With the animation editor panel open, select the “logo” node and set the
“Rect / Position” property to (118, -400) and press the key button next
to the property:
When the dialog appears, confirm that you are creating a new track.
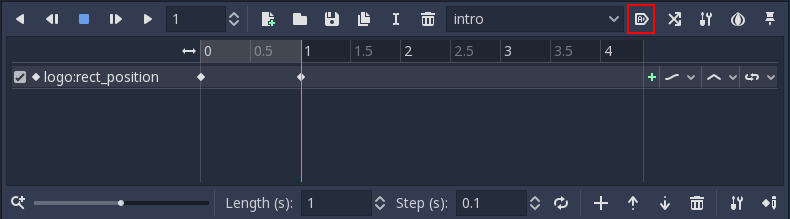
The keyframe will be added in the animation player editor:
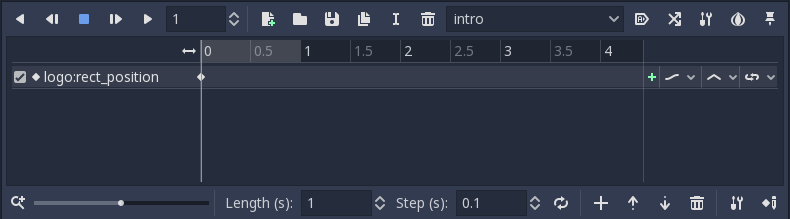
Move the editor cursor to the end by clicking here:
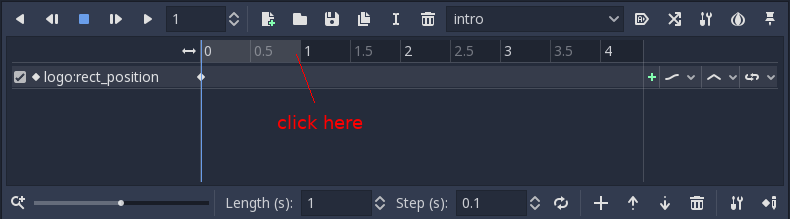
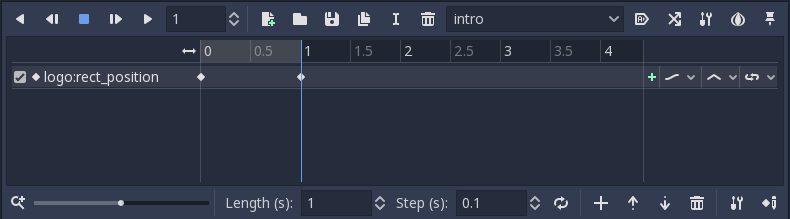
Change the logo position to (118, 0) and add a keyframe again. With two
keyframes, the animation happens.
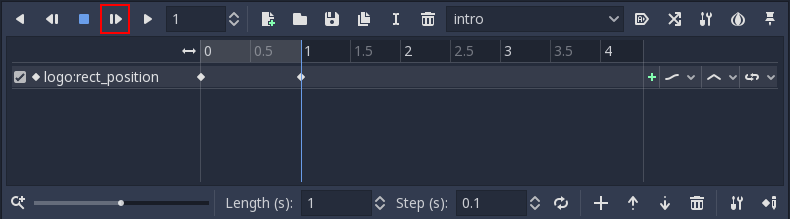
Pressing “Play selected animation from start. (Shift-D)” on the animation panel will make the logo descend.
Click the “Autoplay on Load” button to set the animation to start automatically when the scene starts.
And finally, when running the scene, the animation should look like this: